
One of the questions I am frequently asked is: “Where does your willow come from?”
So this is the first in a three series of blog posts about my willow growing experience. Hopefully it gives you more of an idea of where willow comes from and how it all started.
1. Creating the willow bed
Location
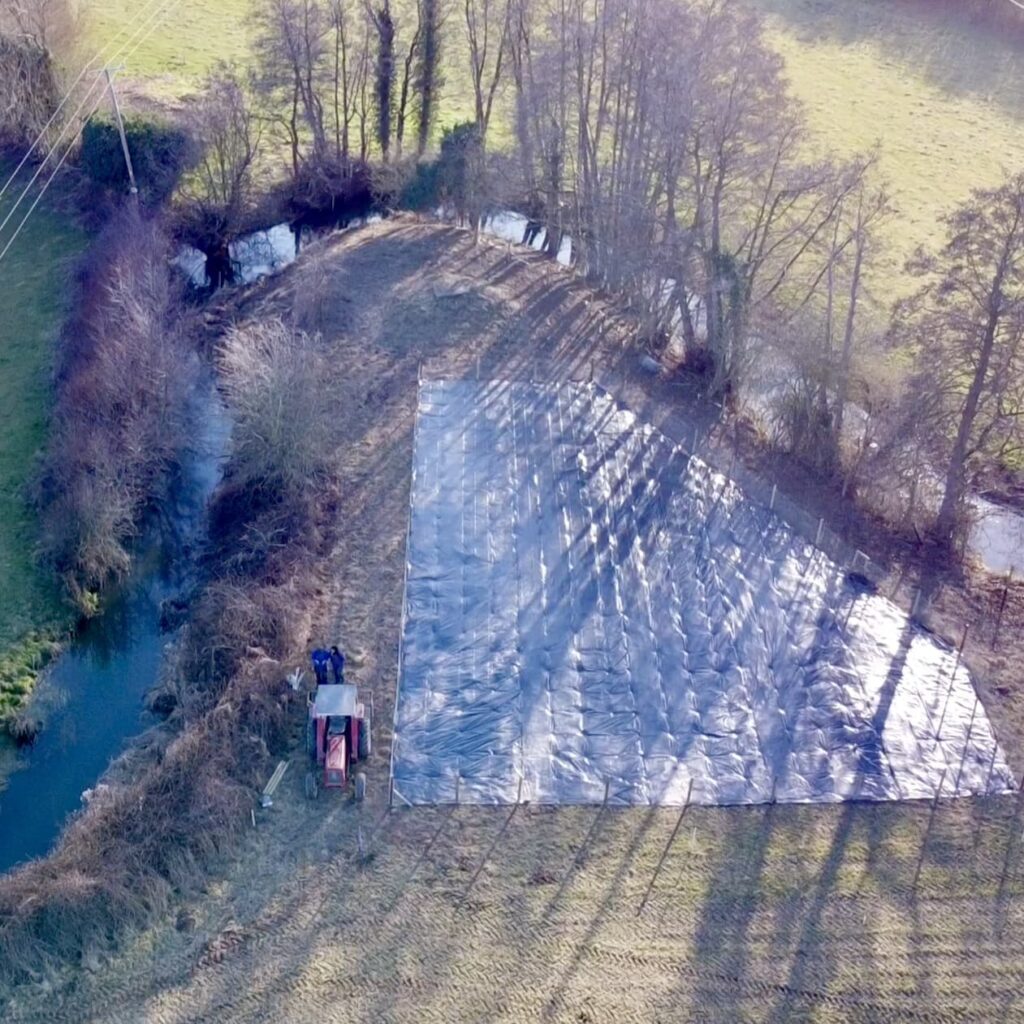
My willow bed is planted on the edge of a field, surrounded by the river on two sides. It was previously permanent pasture, grazed by our cattle and although it had some grass, there were also lots of docks, nettles and thistles. Also, it was an awkward shape and difficult to mow, so it was the perfect location for my willow bed.
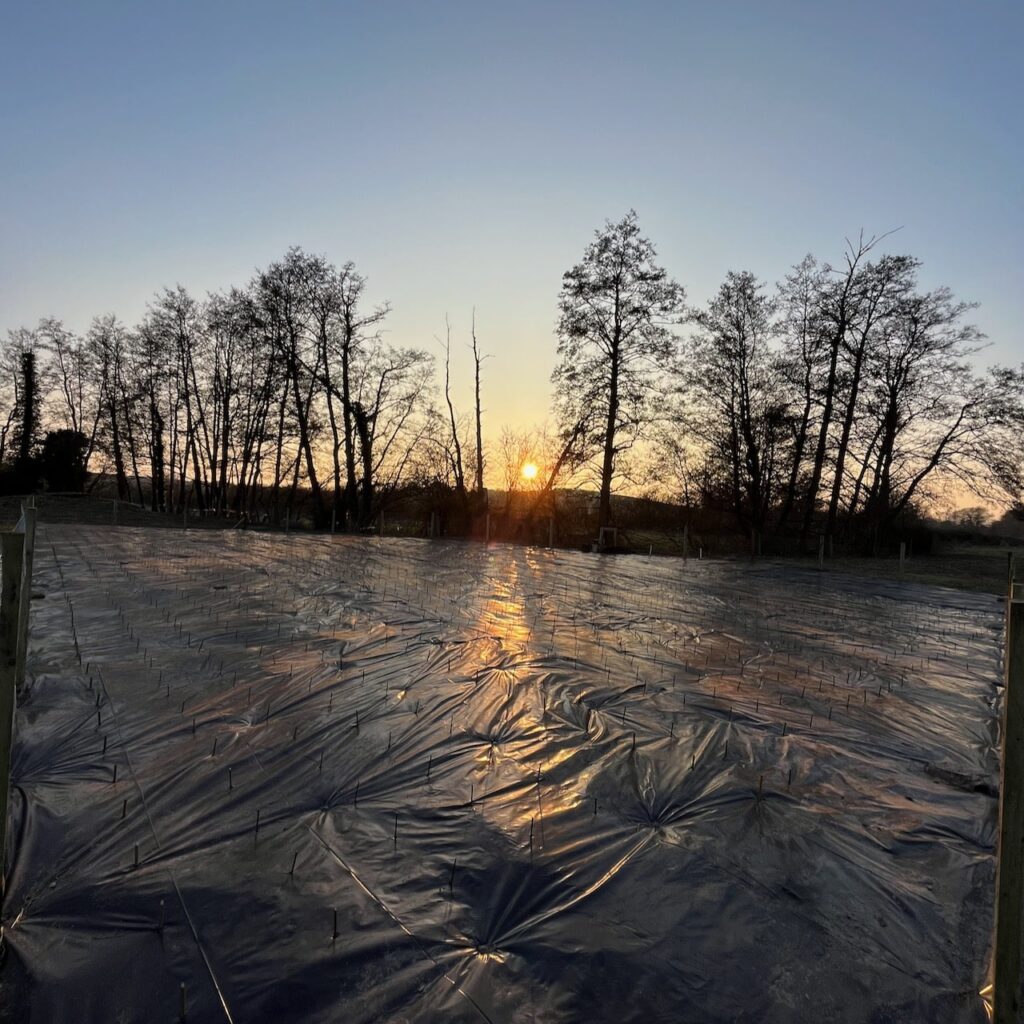
It is also North – South facing which means the bed gets a lot of sun. This is good for growing willow because ideally, they need direct sunlight for at least half a day. With this direction in mind, I carefully planned where I would plant each variety. For example, the smaller ones are near the front and won’t be shaded by the larger varieties.

Preparing the area
1. Laying the silage wrap
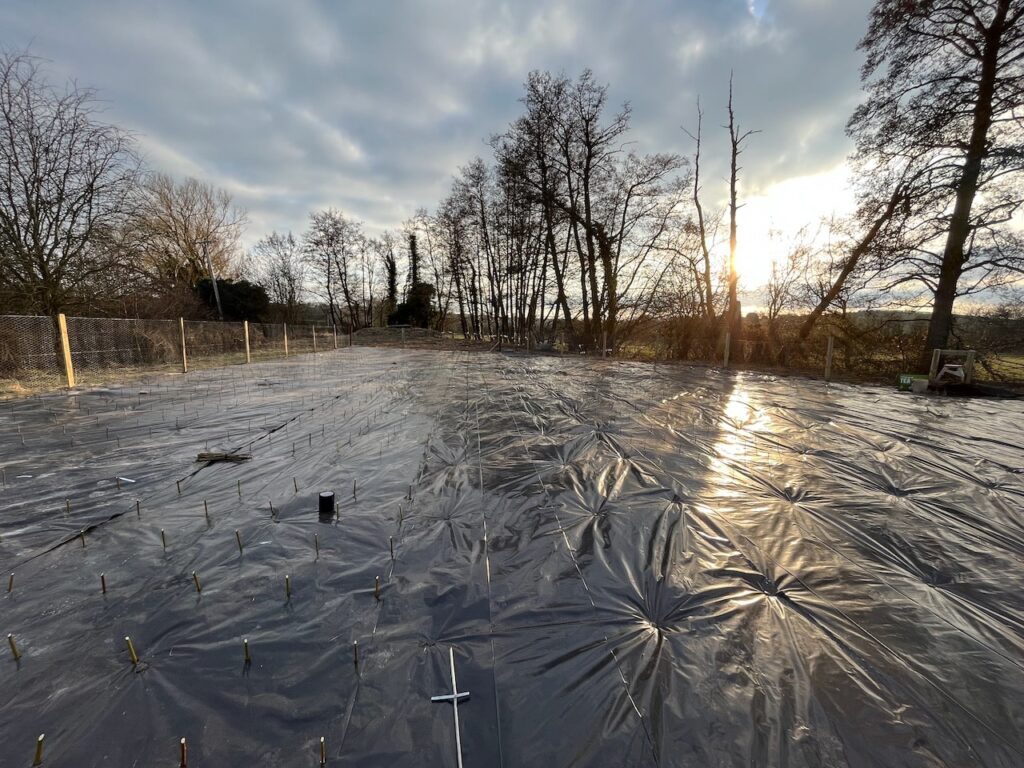
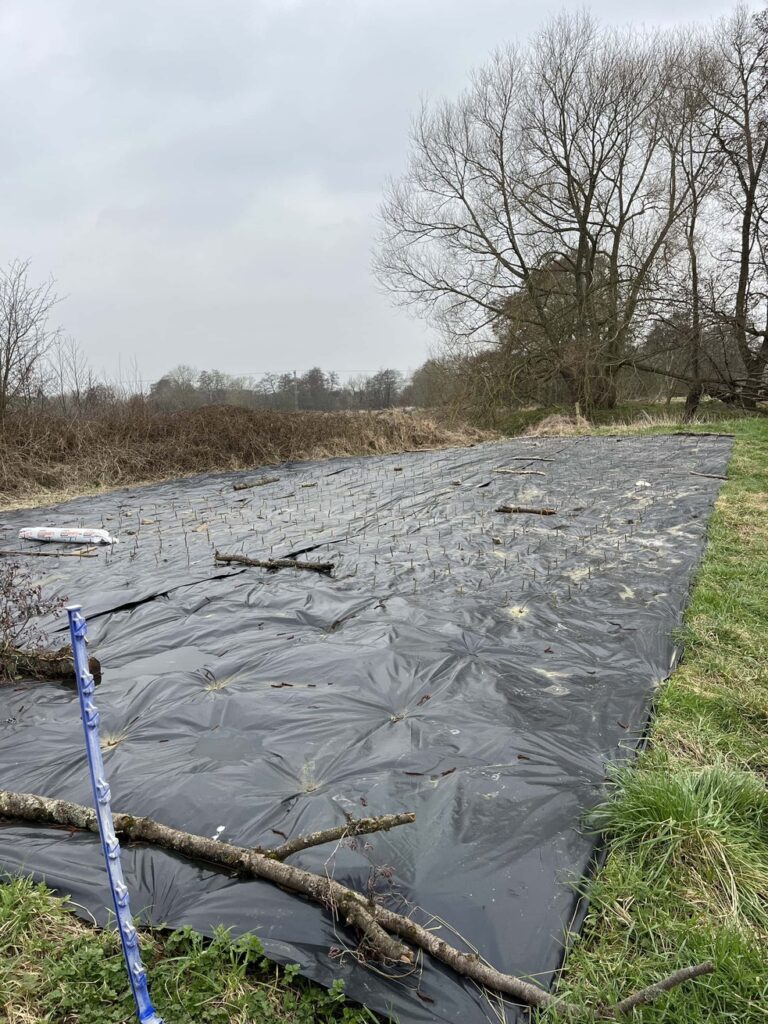
Before I started planting, I cleared the area as best I could and covered the ground with a silage wrap. Willow doesn’t like competition, especially when it is newly planted and trying to put down roots. The thick, black plastic blocks the light and the grass and weeds below it die back. (Ideally try and do this at least a month or two before planting. I only put it down the week before which meant a bit more weeding for the first few months as the grass and weeds below it were still trying to grow. However I persevered and now in the second year, I have nothing growing up through the holes).
Ordinarily I am against using single use plastic. However after extensive research, I felt it would give my newly planted willows the best chance of establishing themselves. Plus I’d seen from West Wales Willows, when I’d visited on one of their open days, that theirs had lasted 7+ years without deteriorating. You can also use woven landscaping fabric, which is quite popular with other willow growers. Whichever you choose will work well, it is personal preference and both work well.
The silage wrap came in 4m x 50m rolls, so I had to unroll it, open it out and cut to size. I then used 6″ plastic pegs to hold it in place. This helps to prevent the wind from getting under and lifting the plastic. It worked well but I also placed some rocks on the plastic to hold it down on the uneven ground.
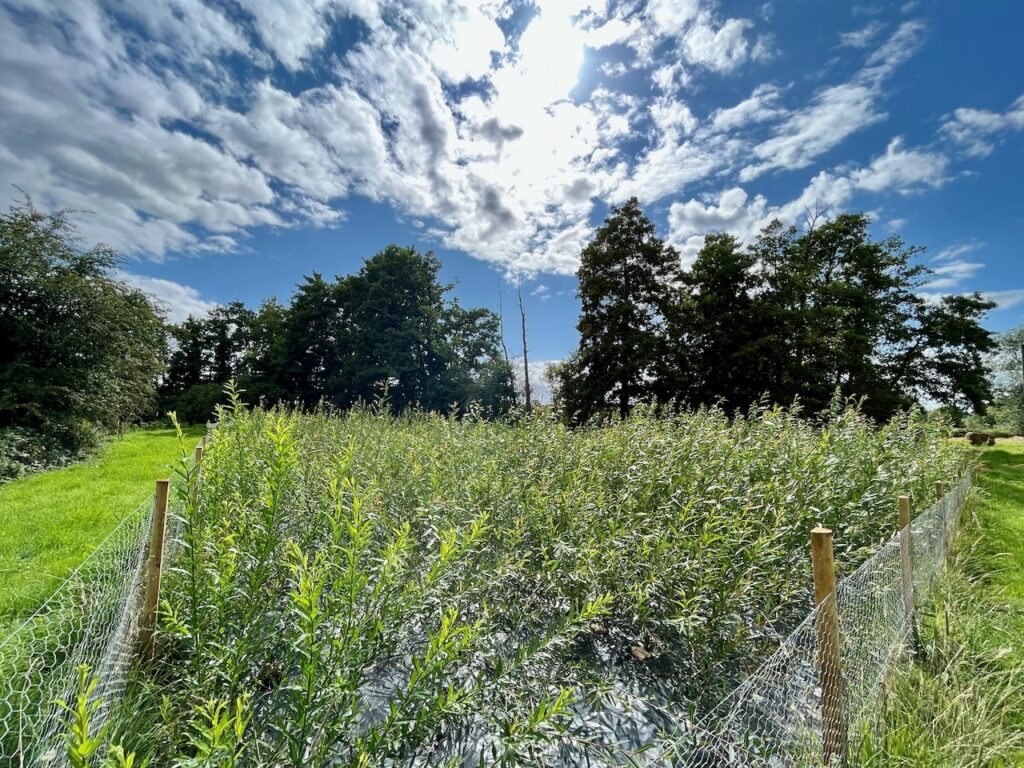
2. Fencing
The final part of creating my willow bed was installing a fence around the perimeter. I used half round posts and chicken wire to fence it off. We are quite fortunate not to have a large rabbit or deer population here. (I know others have to dig this netting in to the ground or install a deer fence to stop their willow being grazed.) I do also have a secondary fence with stock netting and barbed wire separating the withy bed from the field where cattle graze in the summer months.

The willow bed
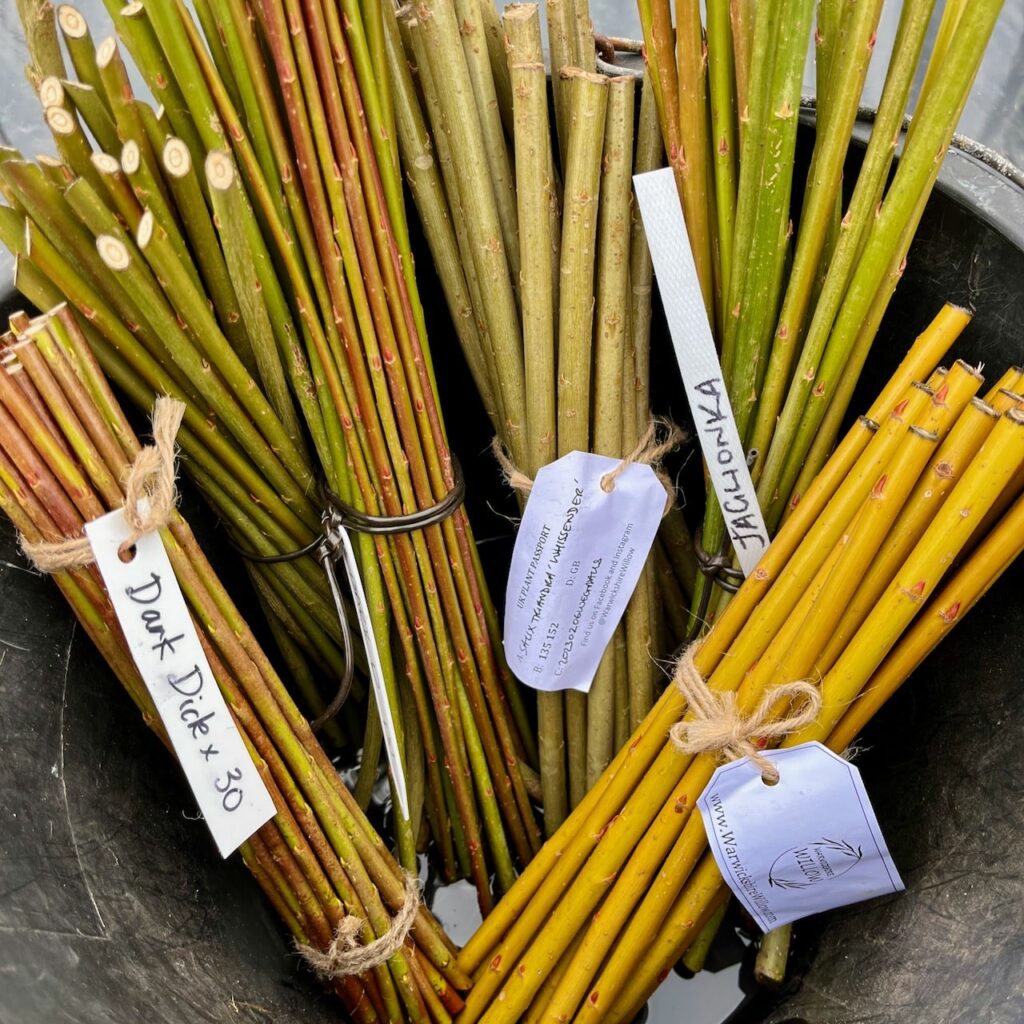
Alongside buying cuttings from friends that grow willow, I purchased cuttings from a number of small suppliers. Warwickshire Willow and Barfad willow were incredibly kind with their knowledge and their cuttings arrived with plant passports.
Eventually I planted 2000 willow cuttings in February 2023. (There is more detail about the planting process in the next blog.) The willows grew spectacularly in their first year with some varieties growing almost to 10 foot high! They are definitely happy growing in our red Herefordshire clay.
Then in February 2024 I created a second bed about 30m away from the first. I followed the same process as with the first bed as the silage wrap had worked exceptionally well. Only the occasional nettle grew up through the holes I had made to plant the willows in.
In this bed I planted a further 1000 cuttings, all made from my own newly harvested willow. I wanted to grow more of the varieties that did well in their first year. Varieties such as Brittany blue, Polish blue and Black French which grew tall, straight and were plentiful!
Got any questions? Leave a comment below! If not, you can learn more about the planting process in the next blog post.
Join the Wegnalls Willow Mailing List
Sign up to the mailing list for updates on new blog posts, upcoming events, and other weaving-related news.
(I send emails occasionally, and only when there’s something meaningful to share.)