
In the previous blog I detailed how I started my willow growing journey, from an empty field to laying the membrane and fencing it off. So this post answers the question: How do you plant willow?
2. Planting
During the winter months in the Northern Hemisphere, when the willow is dormant, is the best time to plant willow. So the first thing is to decide which varieties you are going to grow, purchase cuttings and plan your willow bed.
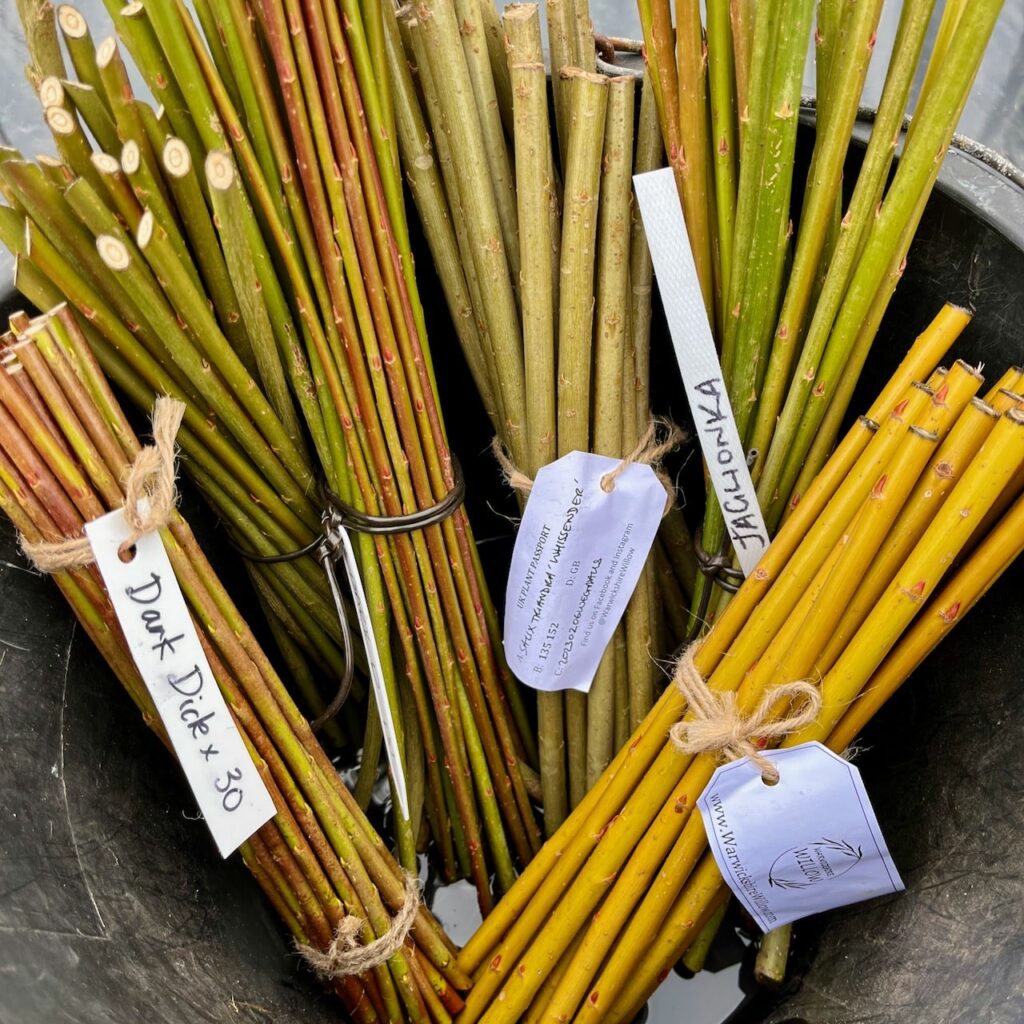
Varieties:
There are hundreds of different Salix (willow) varieties. Each one will vary in colour, height, thickness and purpose, so deciding what you want to grow is important. If you want willow for garden structures, you’ll plant different varieties to someone that wants fine weavers for baskets. Also not every variety will grow in every soil type. So it’s definitely worth taking the time to look at the different varieties, decide what you want the willow for and go from there. Unless you have a large area to plant, starting with a small number of varieties to see what grows, and how, for you is a good idea. It is then easier to expand the next year, either by taking your own cuttings or purchasing other varieties.
The following book was invaluable to me, as it has information of each willow variety and detailed information about willow growing: Cultivation and Use of Basket Willows . I’ll also upload a list of the varieties I grow, along with the aforementioned details, as a separate blog.
Buying cuttings:
Once you’ve decided on the varieties to grow, an internet search will show a number of growers you can buy cuttings from. (I mentioned some growers I used in the previous blog and they will also be able to answer any questions about particular varieties they sell).
If you have received cuttings but aren’t quite ready to plant, I have found that I can keep them stood in a bucket with a small amount of water for a few weeks until I’m ready.
I am fortunate enough to have a cool, dark cellar to store them which will keep them dormant for a few weeks.
If you don’t have somewhere dark to store them or leave them too long, leaves or roots may start growing. In which case, putting them in a sealed bag in the fridge will keep them ready to plant when you are. Willow cuttings just want to grow!
Planning:
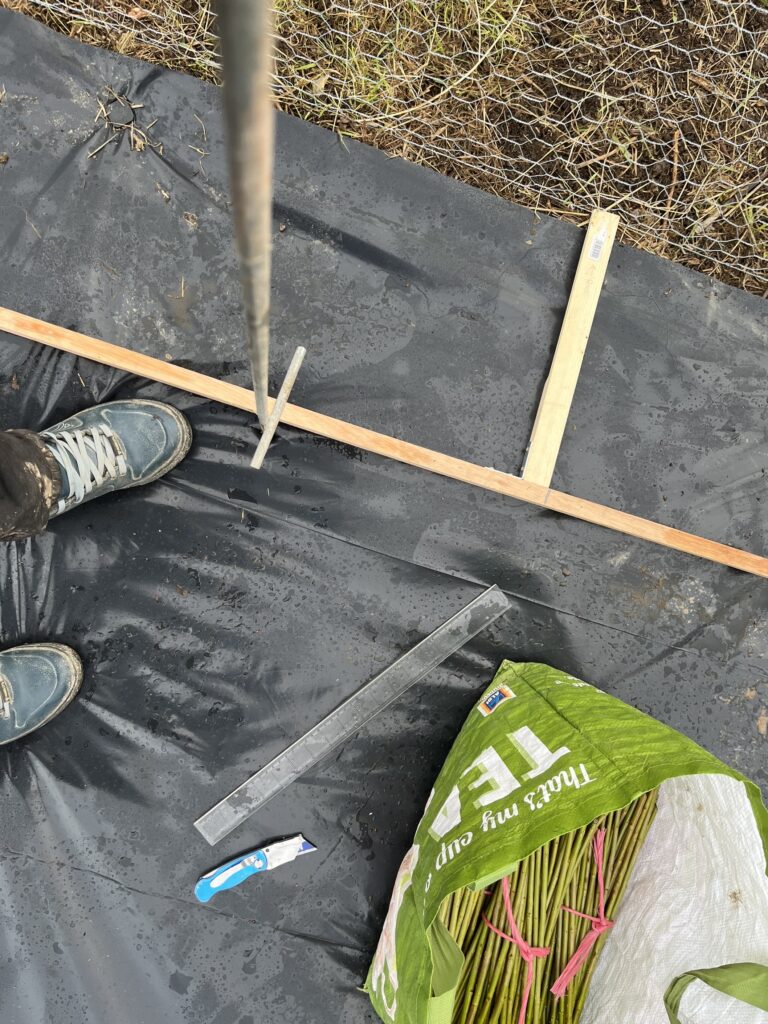
Once I had chosen my varieties and bough the cuttings, I planned the layout of my willow beds. By drawing out the willow bed with measurements, I was able to work out the spacing for each row and variety. The spacing is important because basketry willows are planted close together. This ensures upwards growth, so you have straight weavers, rather than branchy ones.
I planted mine 35 – 37.5cm apart and left a gap every 8 rows so that I have a path to walk down (not a whole lot of use in mid-summer when they’re massive but it’s really useful when harvesting to have space to walk).
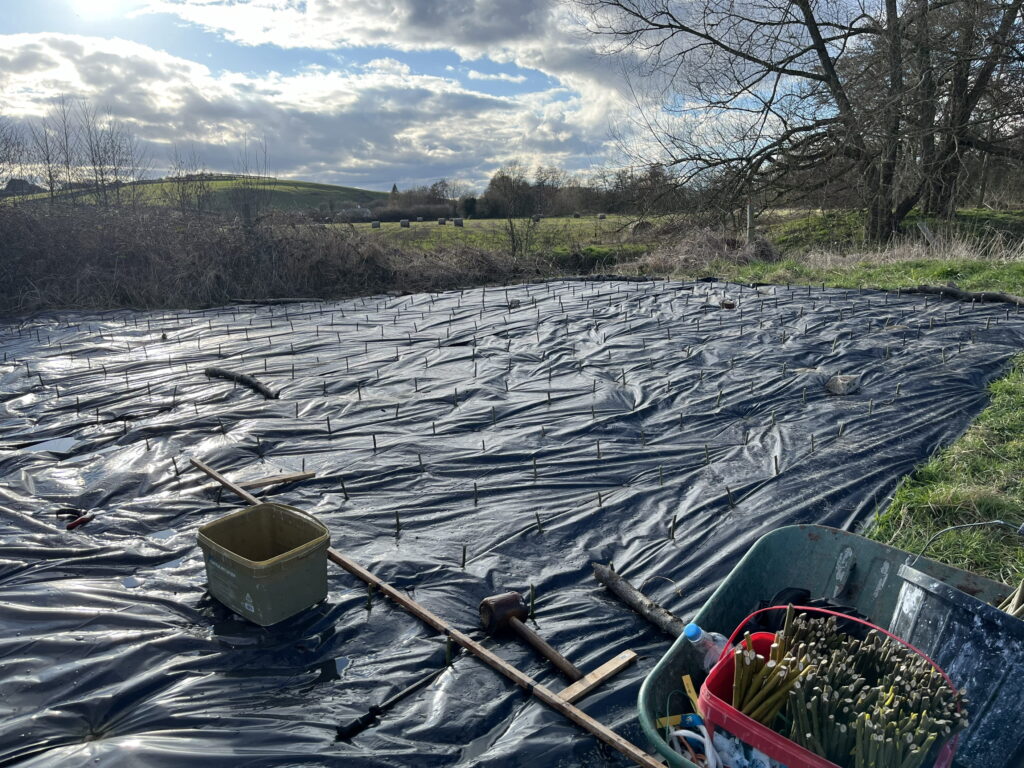
Planting!
It really is as simple as making a hole and putting a stick in the ground!
The two main things to note are:
1. Checking that the root nodes are going into the ground and the buds are facing upwards.
2. Planting the willow cuttings with 2/3 below ground, 1/3 above. Cuttings are usually around 30cm in length, so about 20cm of the cutting is below ground.
You need something to make the hole to plant in. I used a metal electric fence post because I was planting almost 2000 and it meant I could walk along making the holes, but you can also use anything straight, like a screwdriver or a fire poker.
I also found that having a wooden measuring stick with marks at my spacings helped to keep the rows straight and evenly spaced. You can use string lines to mark rows or measure between each cutting, but on a larger scale and on a cold winter’s day this was the easiest way that I found to plant evenly.
Maintenance
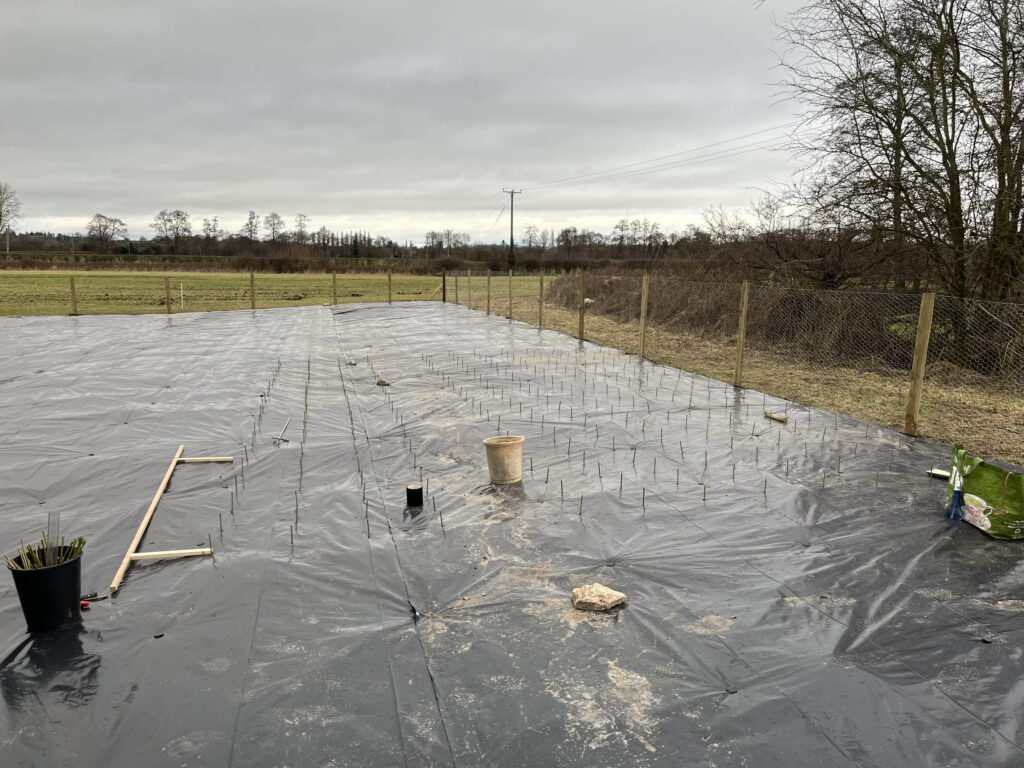
After all of the willow cuttings were planted, I checked them on a weekly basis. I pulled out any weeds that were growing through the plastic sheet, occasionally adding or moving a stone to hold the sheet down if wind had gotten under it. This is more important once the cuttings have new growth on them as you don’t want the membrane lifting and stripping the leaves off your newly planted willows. Once it settles, after the first few months and there are actual rods growing, both of these tend to be less of an issue.
Willow is very low maintenance once it is planted and is establishing itself. The most time consuming thing for me was trimming and keeping the nettles and grass down around it for access! I don’t water my willow beds. As I mentioned before, mine are planted in the bend of a river so it’s always wet below ground and the last two Spring/Summer seasons have been very rainy here in the UK anyway! But depending on your climate and/or planting location, you may need to water your newly planted willows.
So there you have it. All of the different considerations and planning that went into my willow bed and then the planting itself, which when written out actually seems to be the quickest part of the process! Part 3 will wrap up this blog series and look at the final part of the willow season: Harvest.
Join the Wegnalls Willow Mailing List
Sign up to the mailing list for updates on new blog posts, upcoming events, and other weaving-related news.
(I send emails occasionally, and only when there’s something meaningful to share.)