
I am often asked, “How long does it take to weave a willow coffin? ” and I reply with, “A handmade willow coffin takes 3 or 4 days to make”. But the reality is that I can weave a coffin quicker than that, or it may take longer.
“Why does it take that long?” Firstly, there is a lot of skill, care and attention that goes into making a coffin. But it also depends on how much is already prepared, the design / shape required, what other orders I have, or how long I work per day.
If you’re interested in the process, read on for a longer explanation!
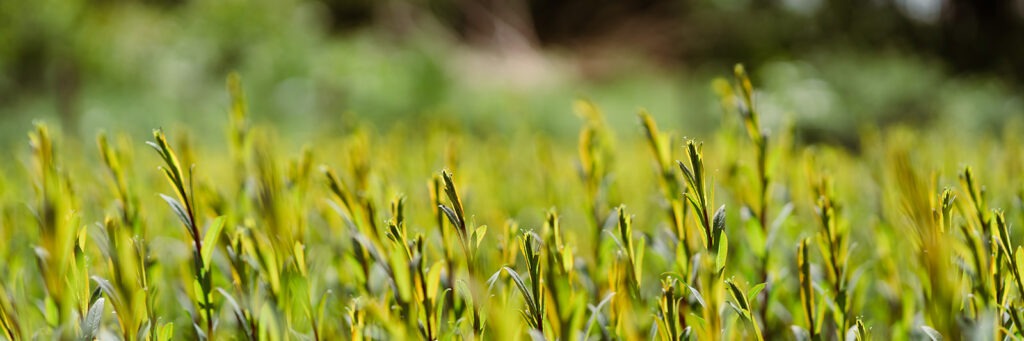
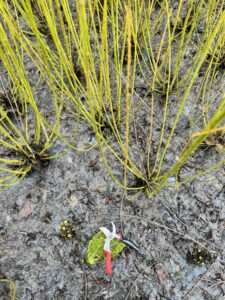
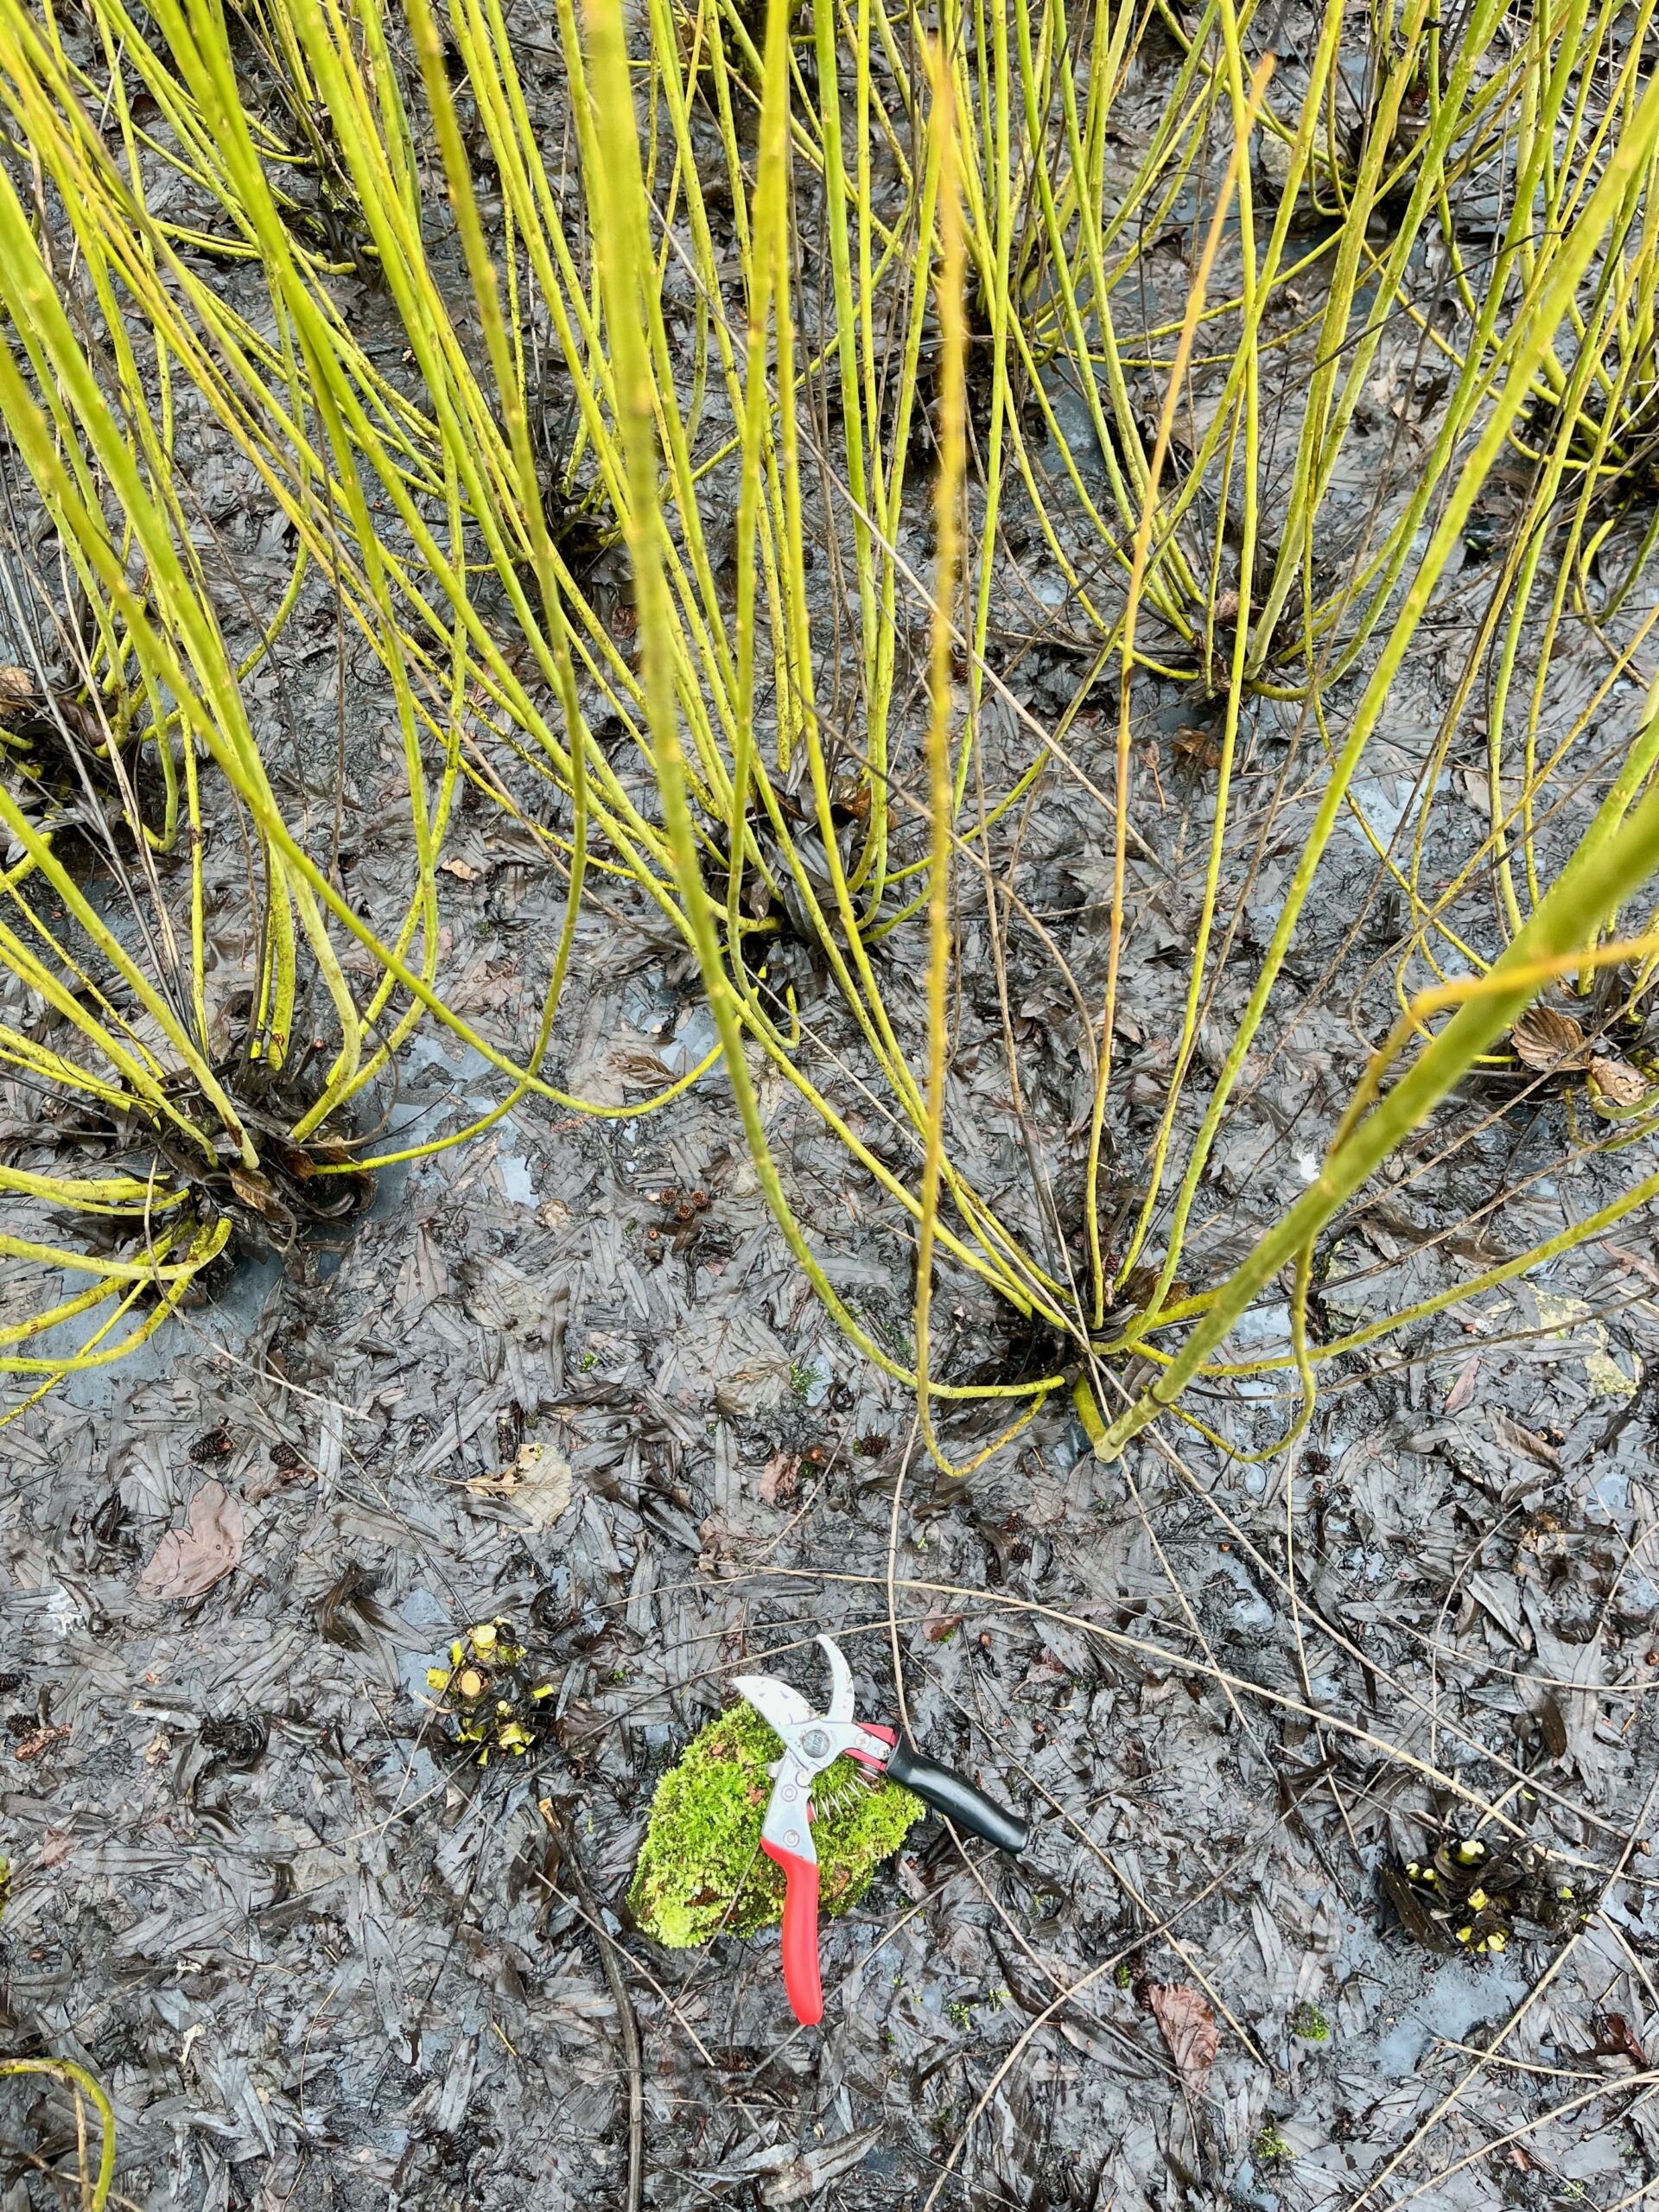
1. Harvesting
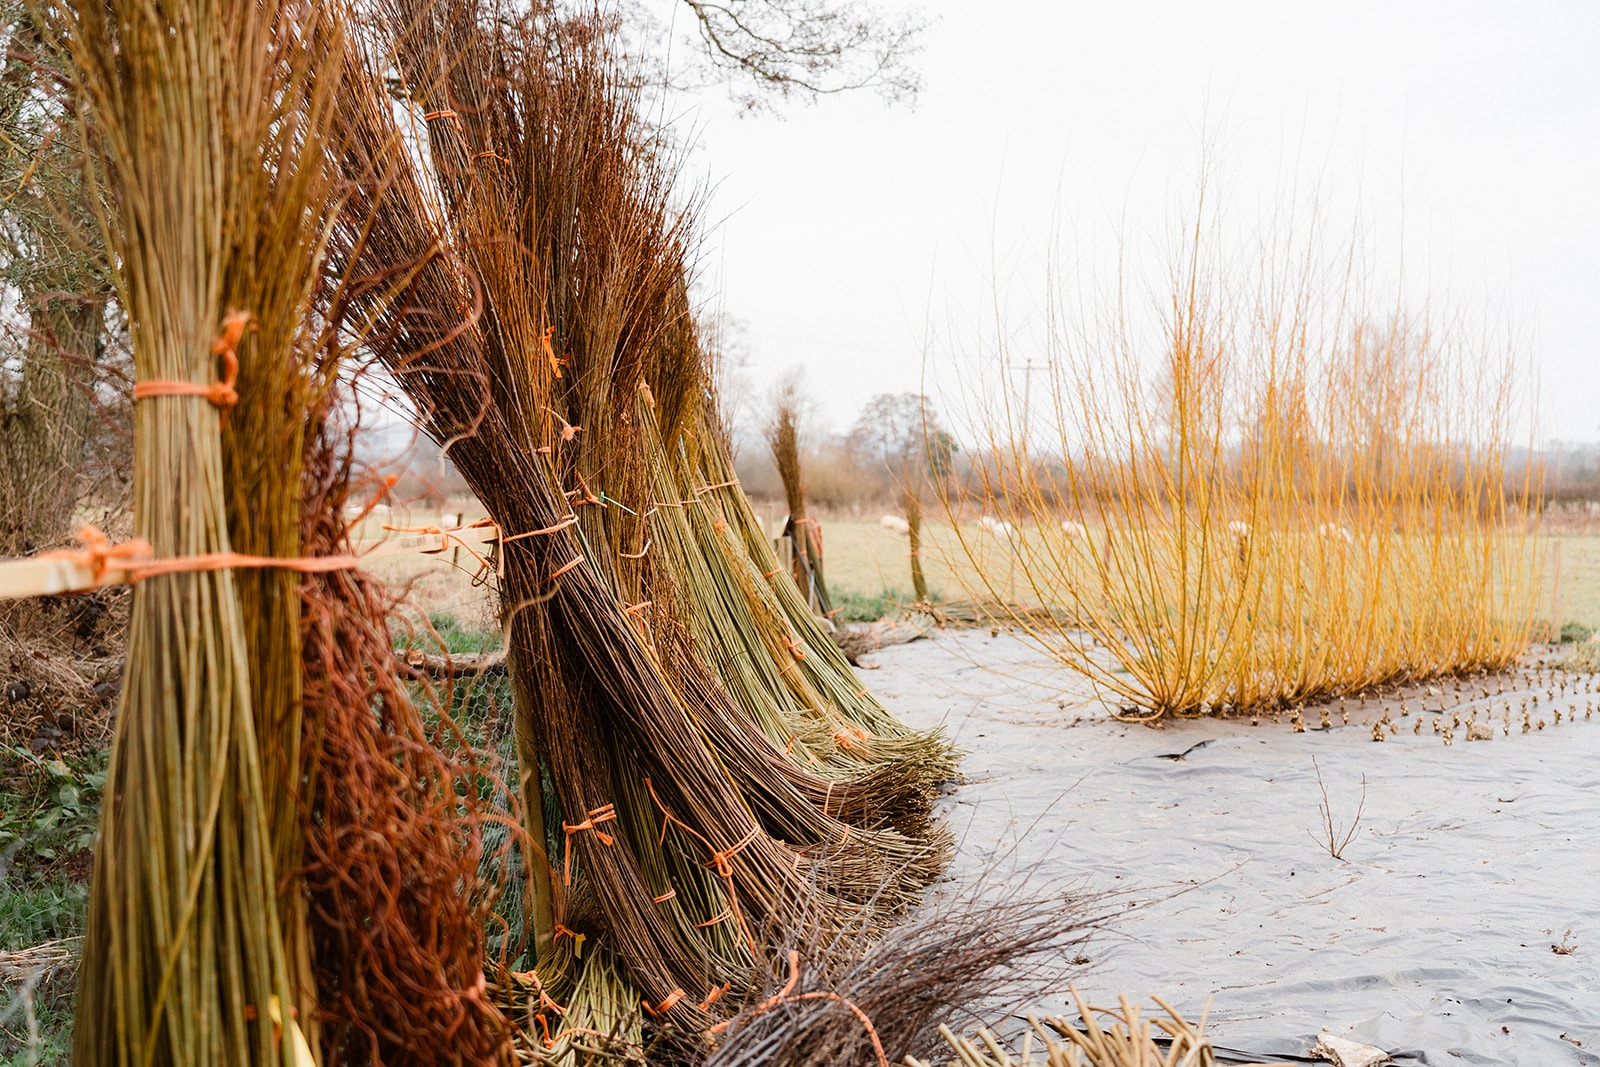
You can read my earlier blogs about how I plant and harvest my willow. So every basket and coffin made with my homegrown willow begins life growing on the edge of the Pinsley Brook. Once cut, is brought up to a shed near my workshop. I supplement this with some willow (predominantly buff and white stripped willow) purchased from Somerset.
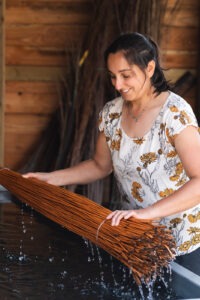
2. Sorting and Soaking
The coffin making process starts with sorting the willow into lengths and then thickness. So a 6 foot bundle gets sorted into fine, medium and thick widths. Each of these has a different use in the weaving: the thicker rods become the side stakes and the finer willow rods are woven around them.
The willow is then soaked in my water tank to become pliable. I test this by ensuring it can make a 90º bend without kinking. If not, it goes back in the water.
Soaking takes a few hours for buff willow. But brown willow takes approximately 1 day per 1 foot of length. Roughly 6 foot willow = 6 days in the soaking tank. However this is temperature dependant and is quicker if it is warmer. It also varies between varieties or sometimes it just takes longer than expected!

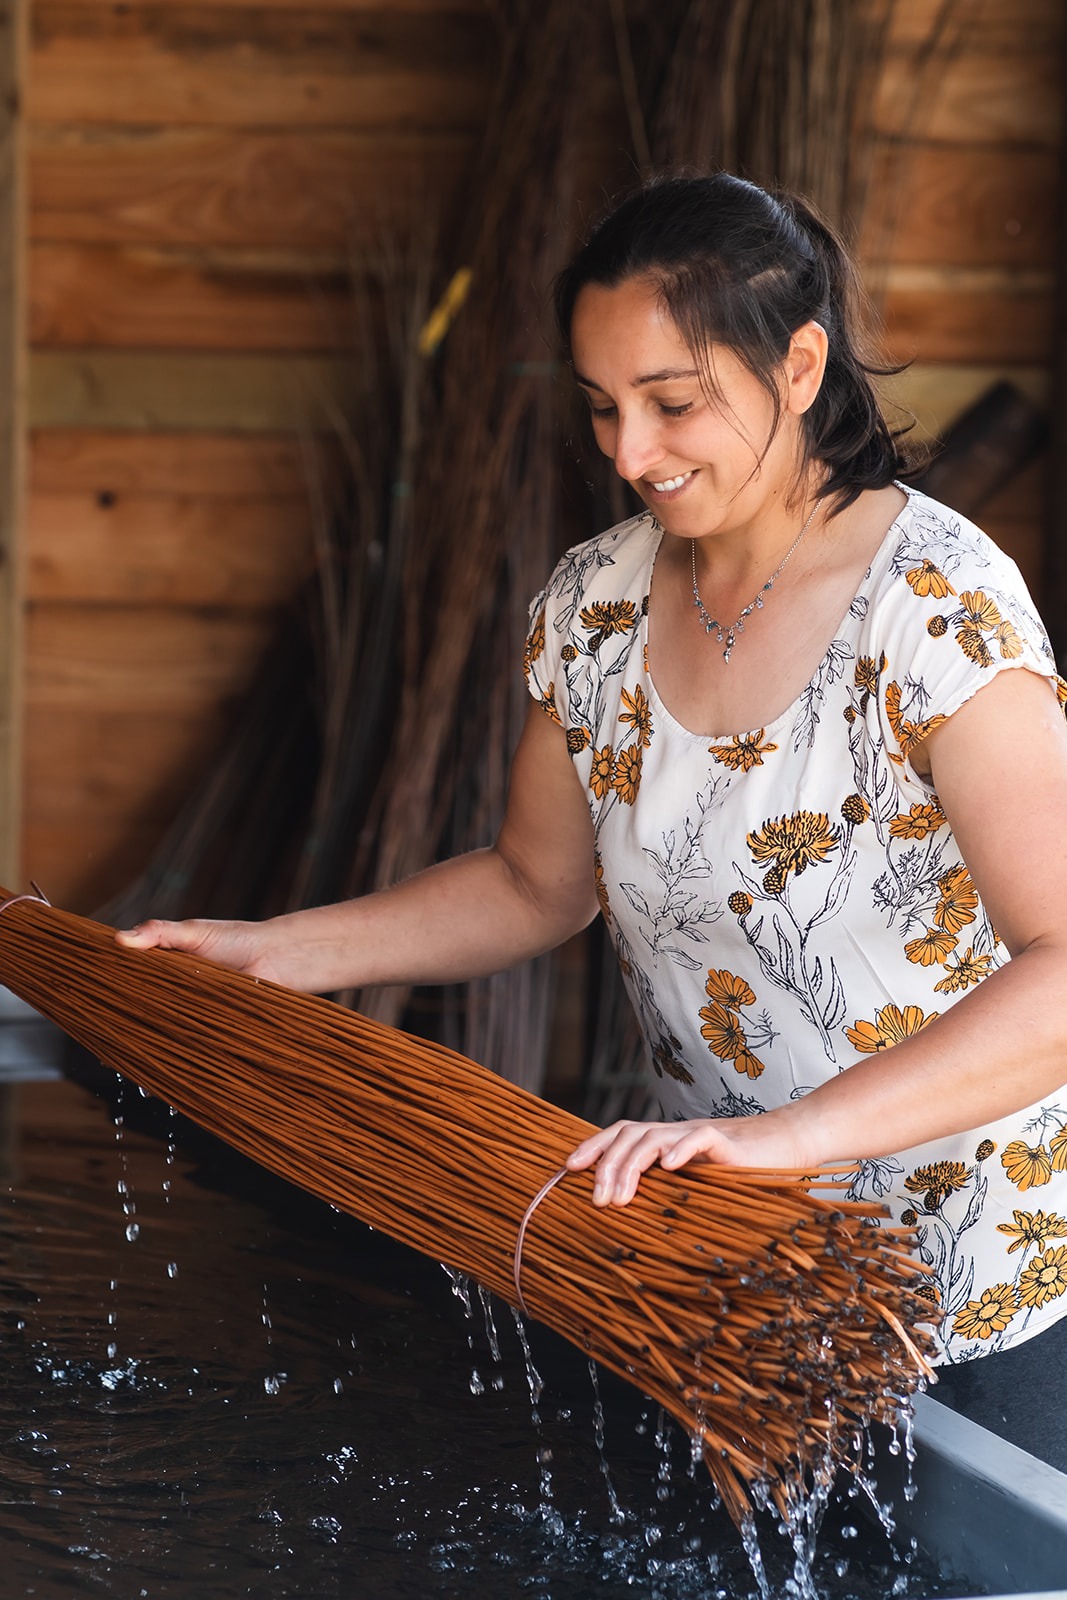
Why is it re-soaked?
Willow is harvested in winter when the plant is dormant, then left to dry for a few months. As it dries, it shrinks. Then when you re-soak it to weave with and let the basket dry out fully again, it won’t shrink and this keeps the weaving tight.
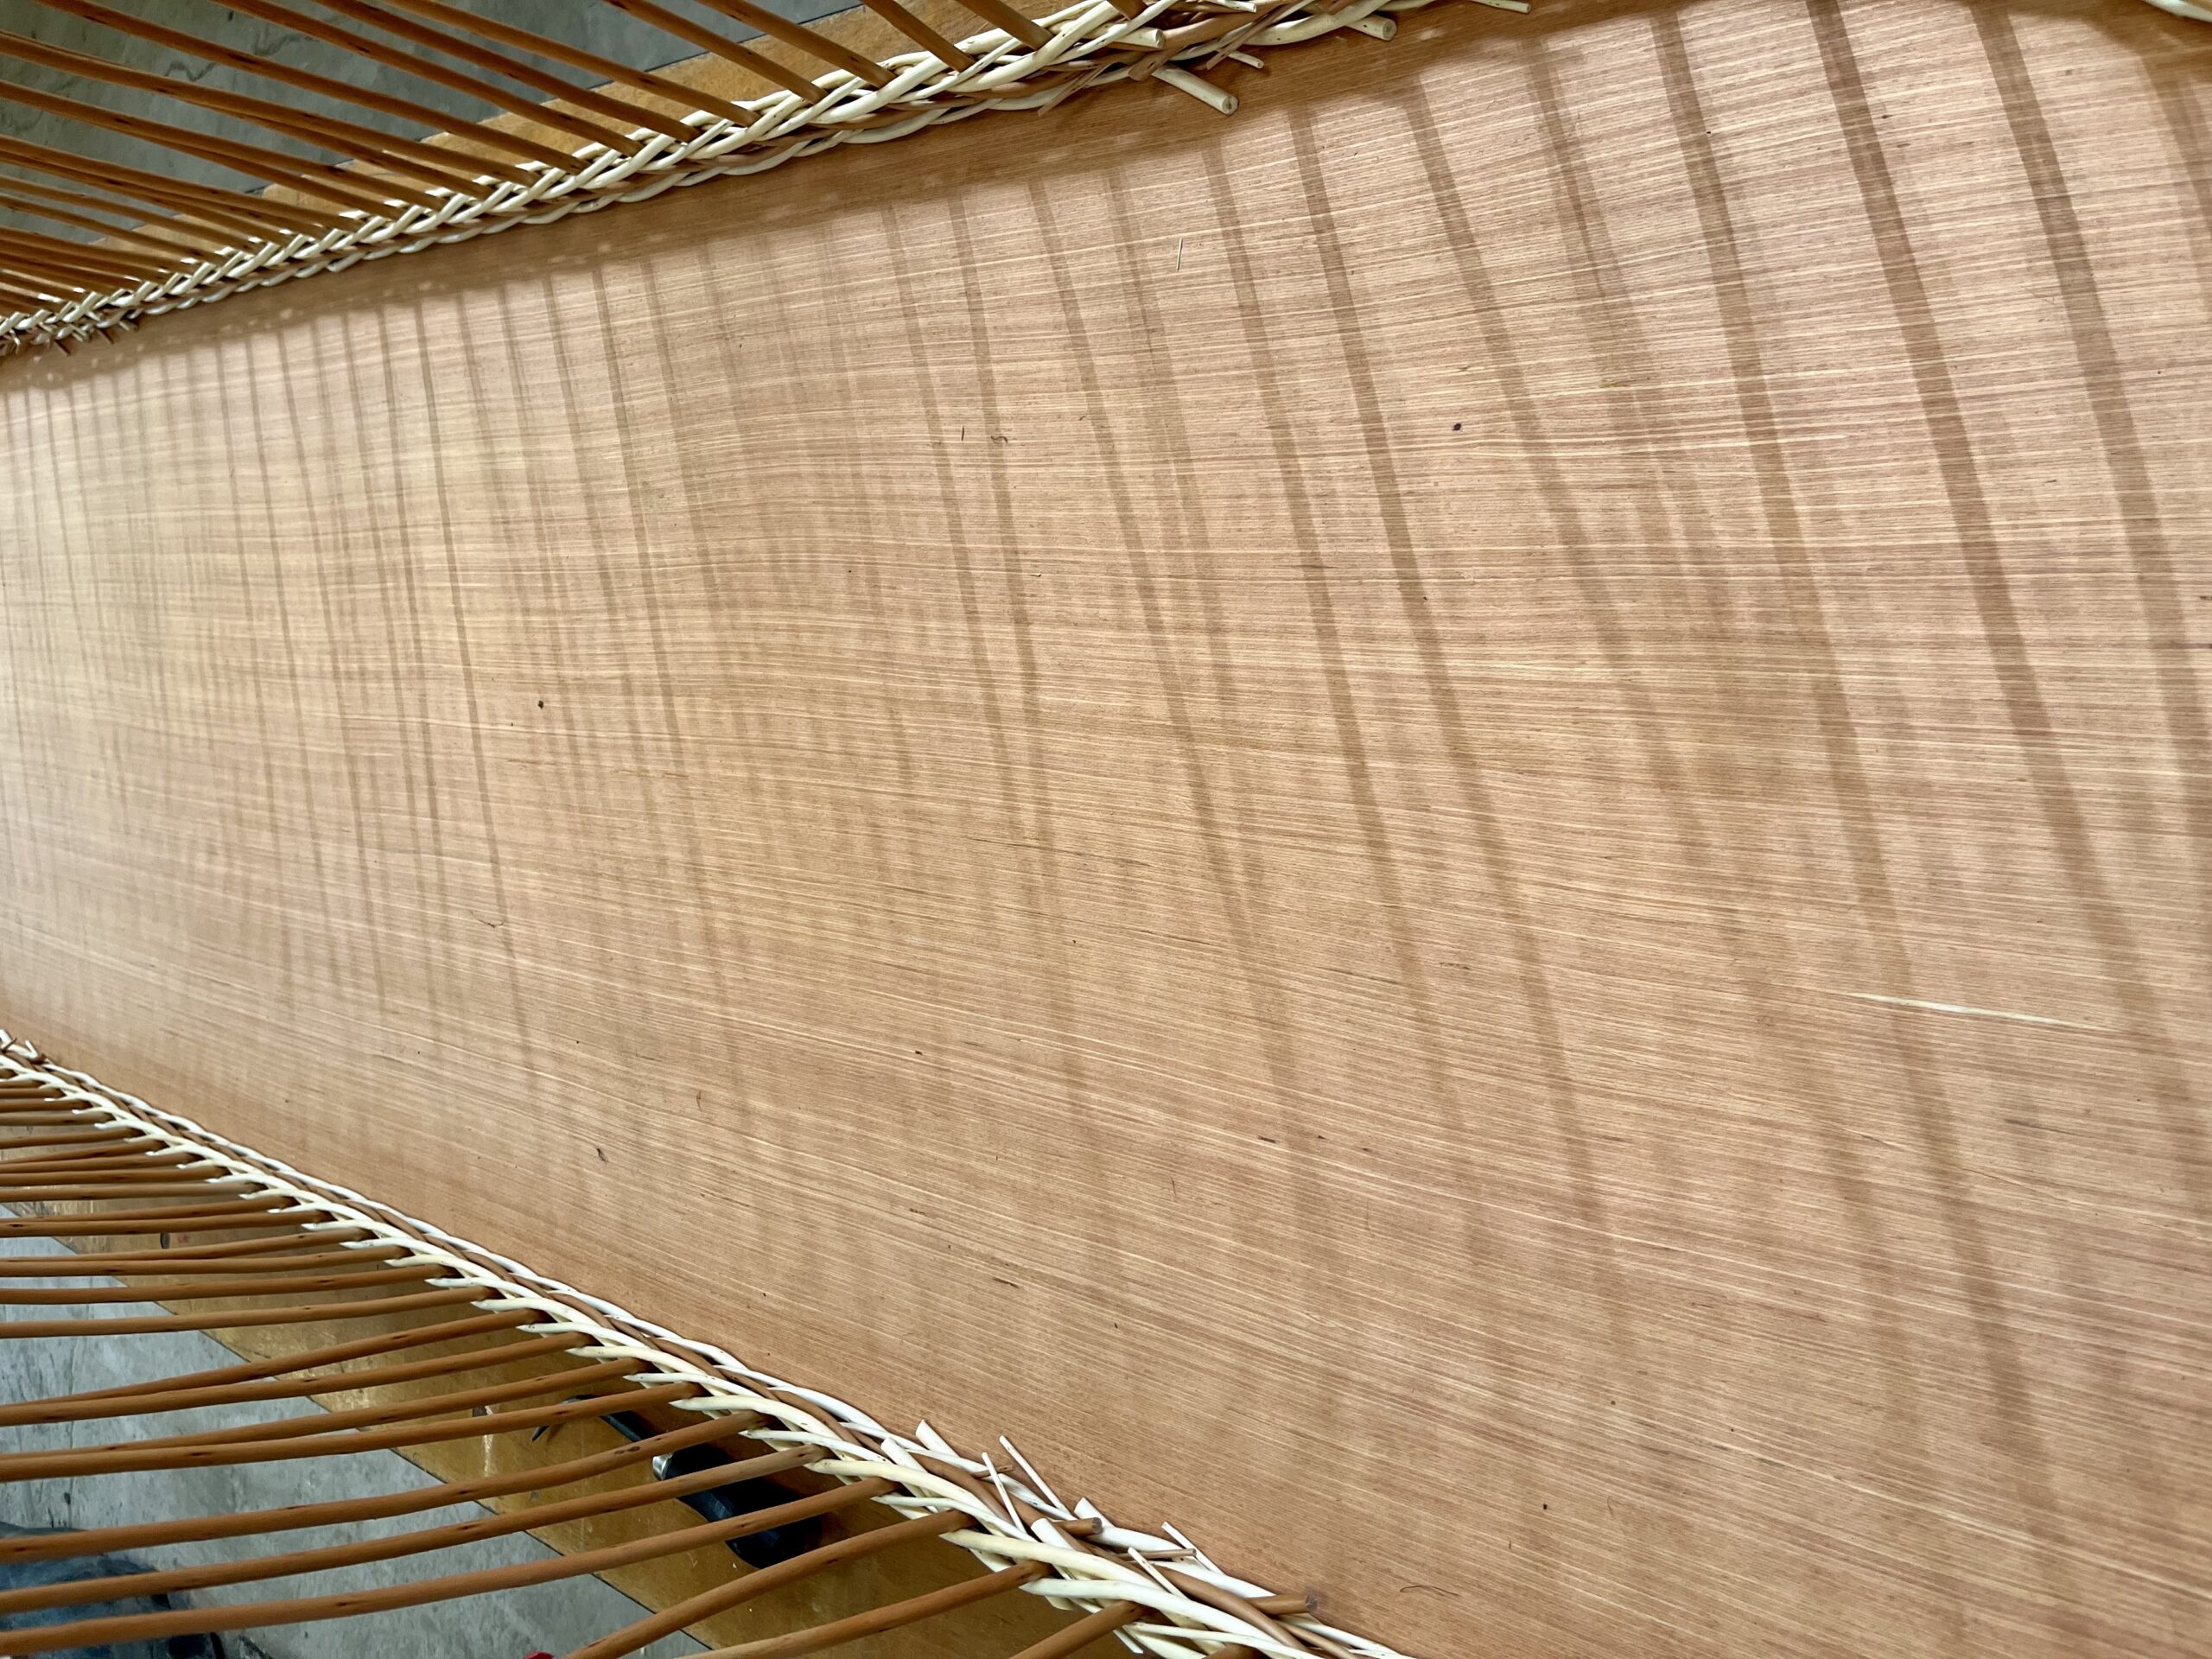
3. Preparing the base
This involves measuring, marking, cutting and drilling the plywood if it’s a solid base for cremation or traditional burial.
I make a totally different base for natural burial and this is a slatted timber construction woven in willow. You can see the difference in both below.


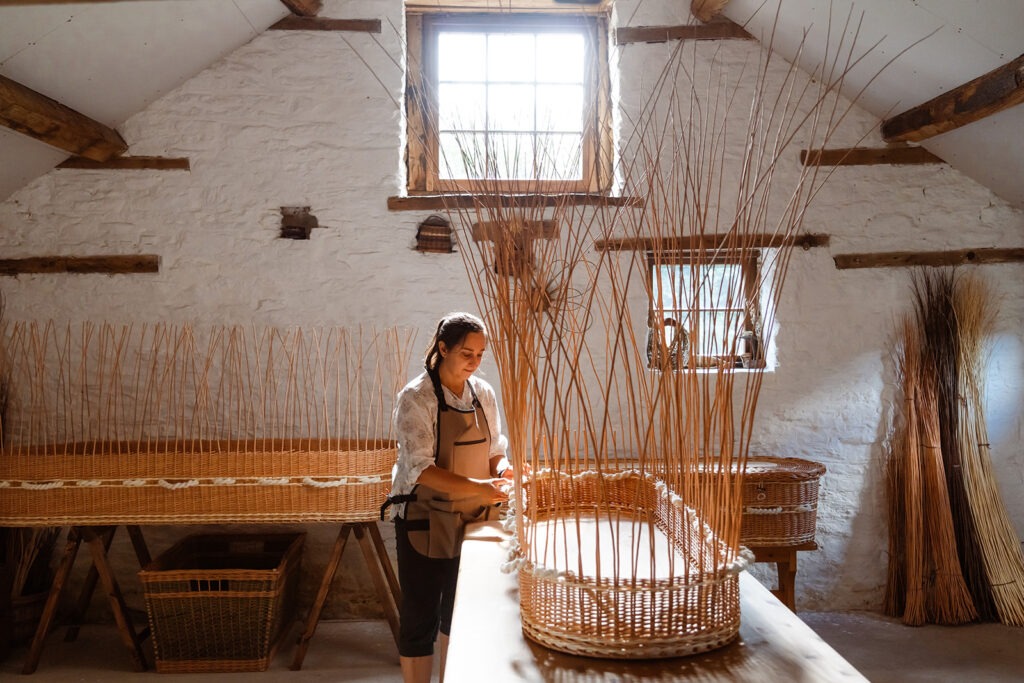
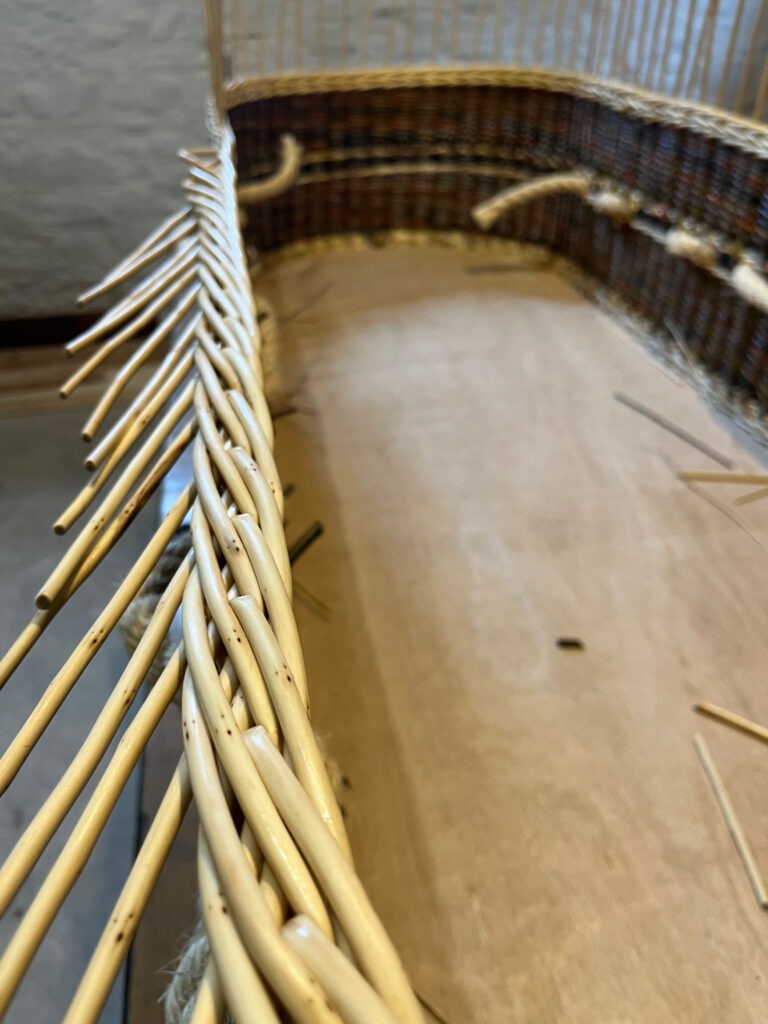
4. Weaving
On a woven base coffin I weave the base first, zigzagging back and forth across the timber. I then securely tie on the side stakes using a technique called ‘scalloming’.
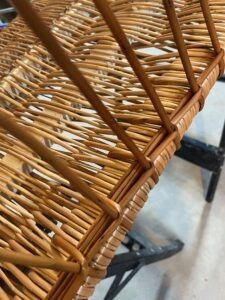
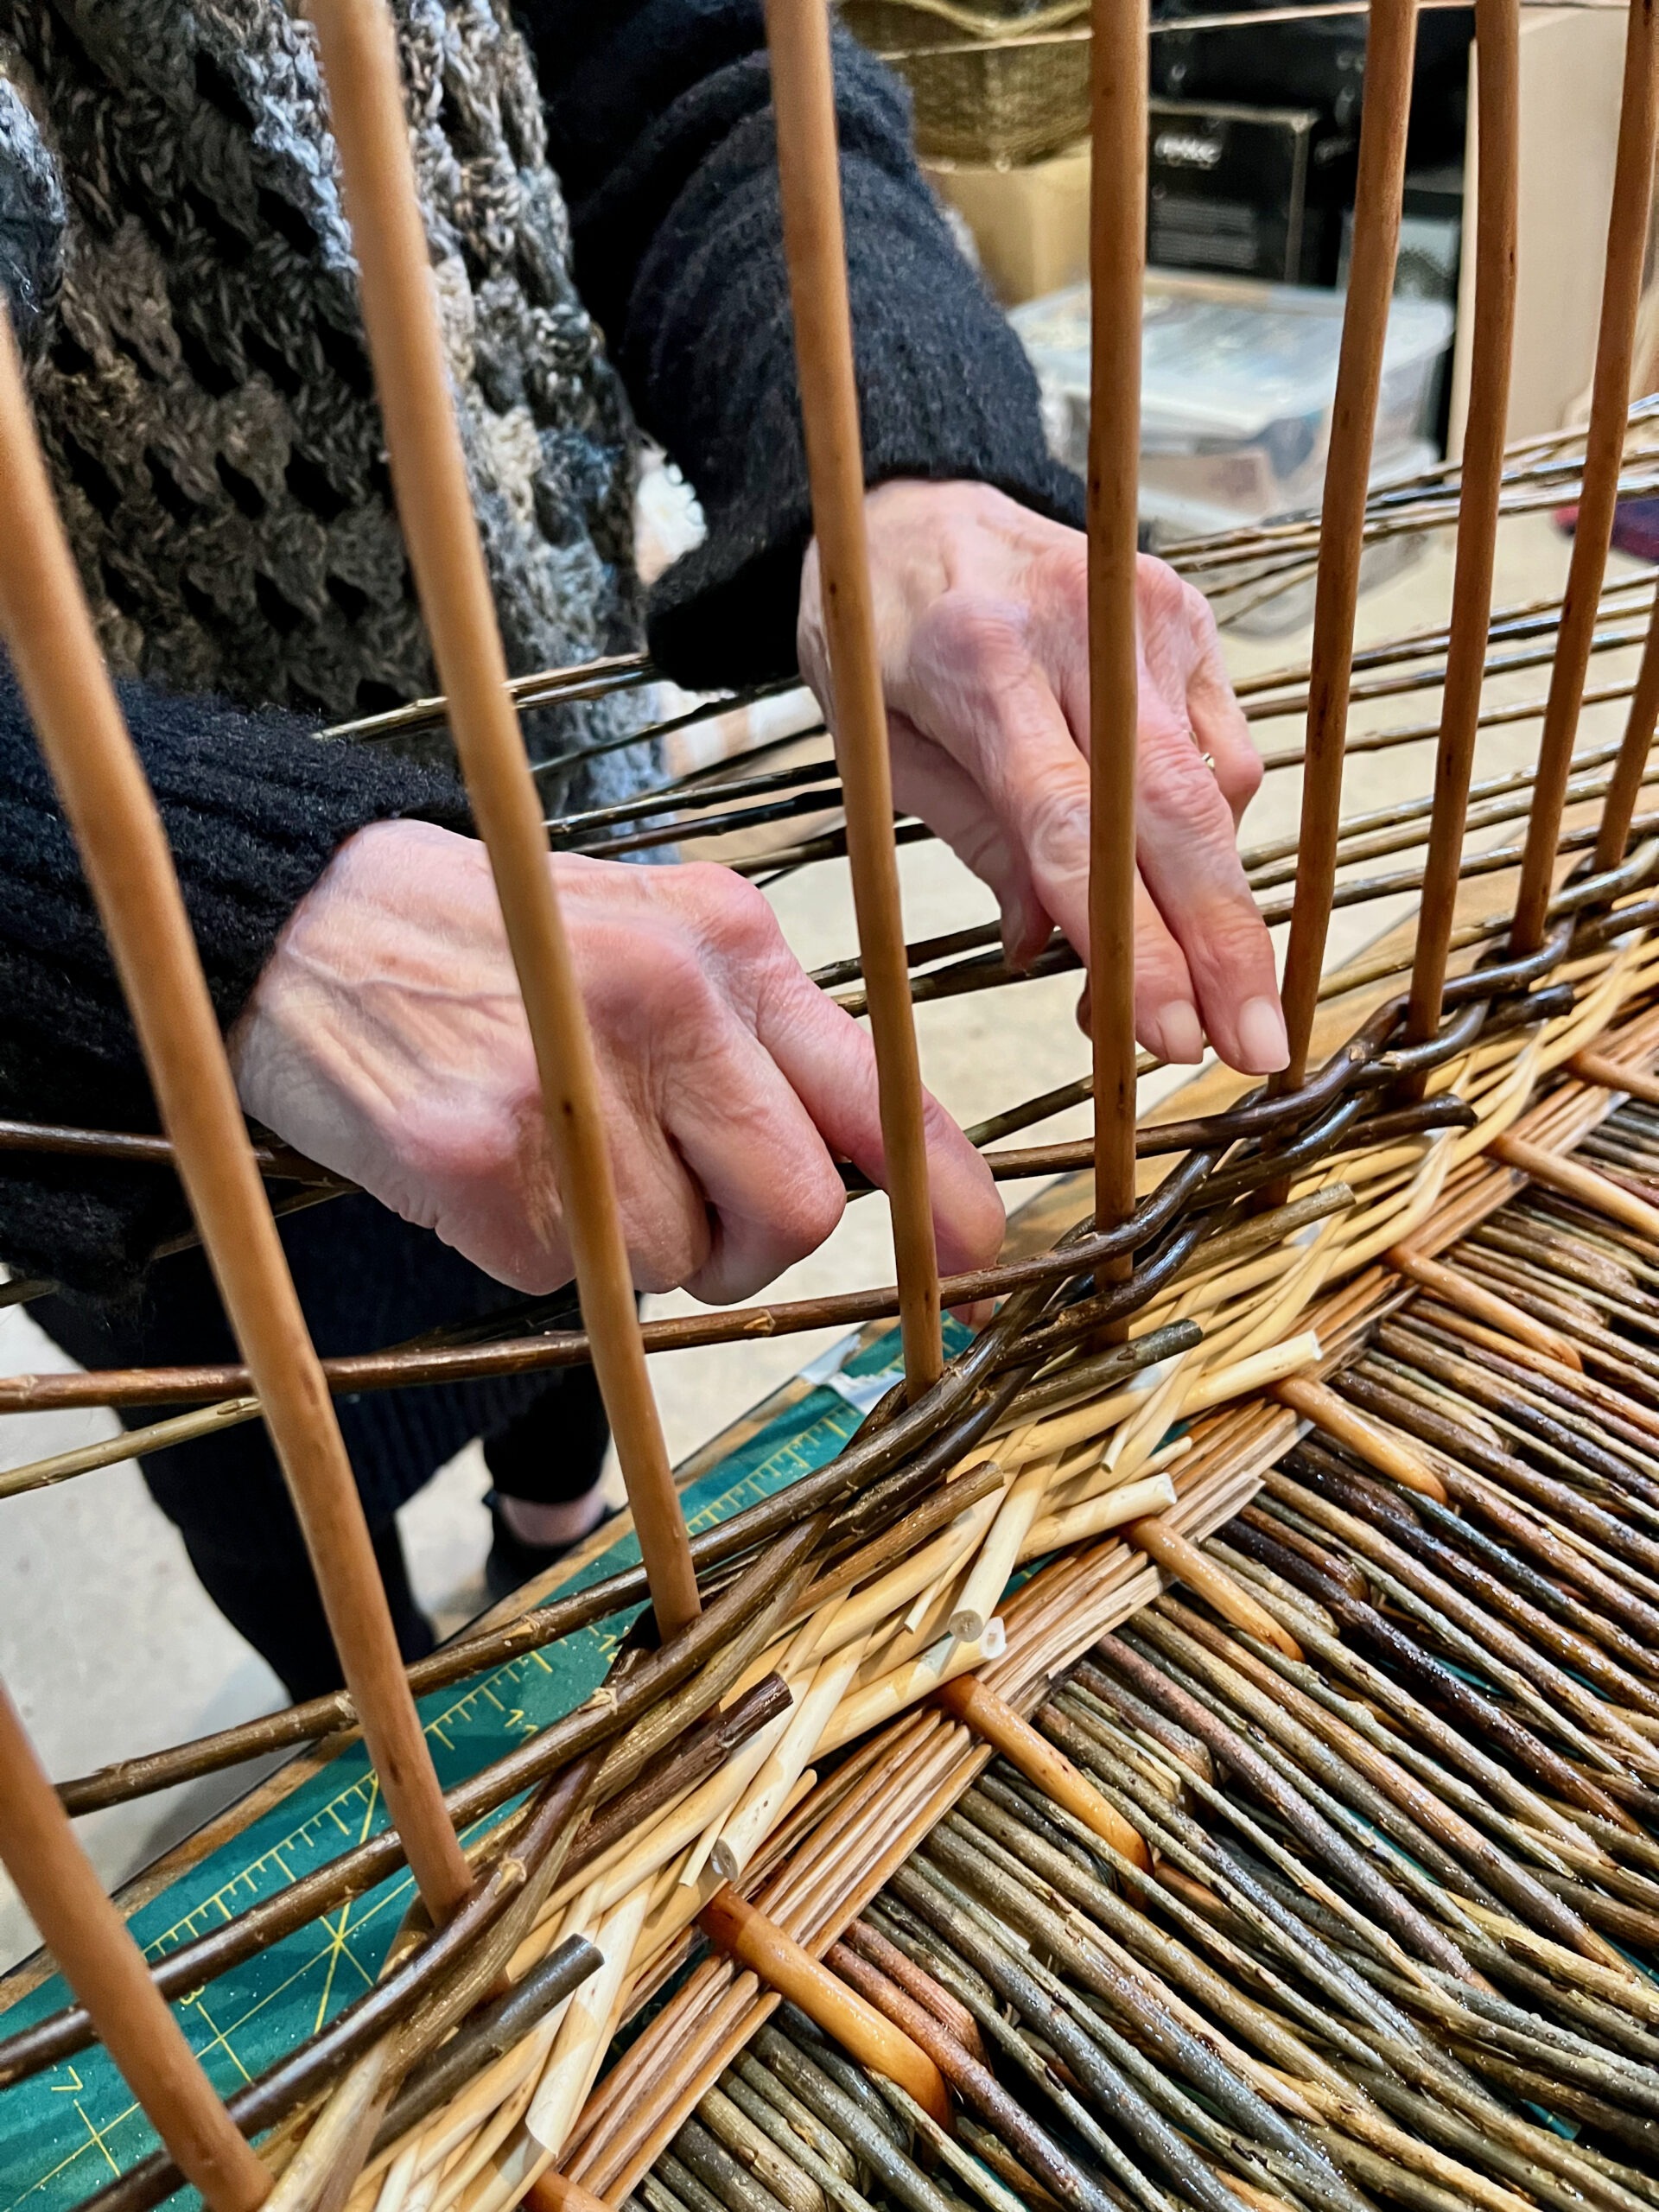
For a solid base coffin, I push the side stakes into the side of the base and then start weaving up the sides. I use the same two weaves for all coffins (unless I am asked for something different): a wale and a French rand.
The wale is a locking weave and is used to hold the side stakes in place, as well as controlling the shape. At this stage I work on making them as straight and evenly spaced as possible.
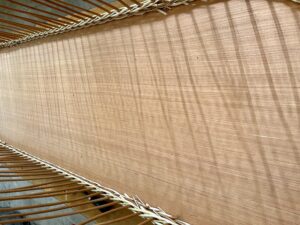
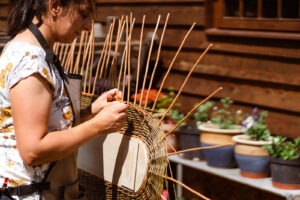
The French rand is the biggest part of weaving you see on the side of a coffin. Over 100 willow rods are inserted at the same time (one rod for each side stake!) and each moves diagonally up the side of the coffin.
This is usually the weave that families come to my workshop and help with, too. French randing moves one rod at a time, weaving around the coffin in a clockwise movement. It can take a few hours and be very meditative.
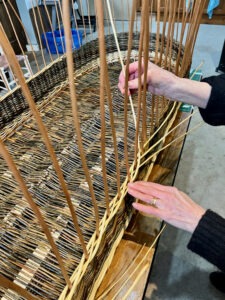

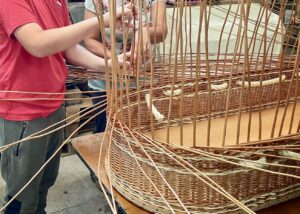


It is deeply meaningful when families take part and share in the process. I have found weaving together can create a real connection between the coffin, the willow, and the loved one it is for.
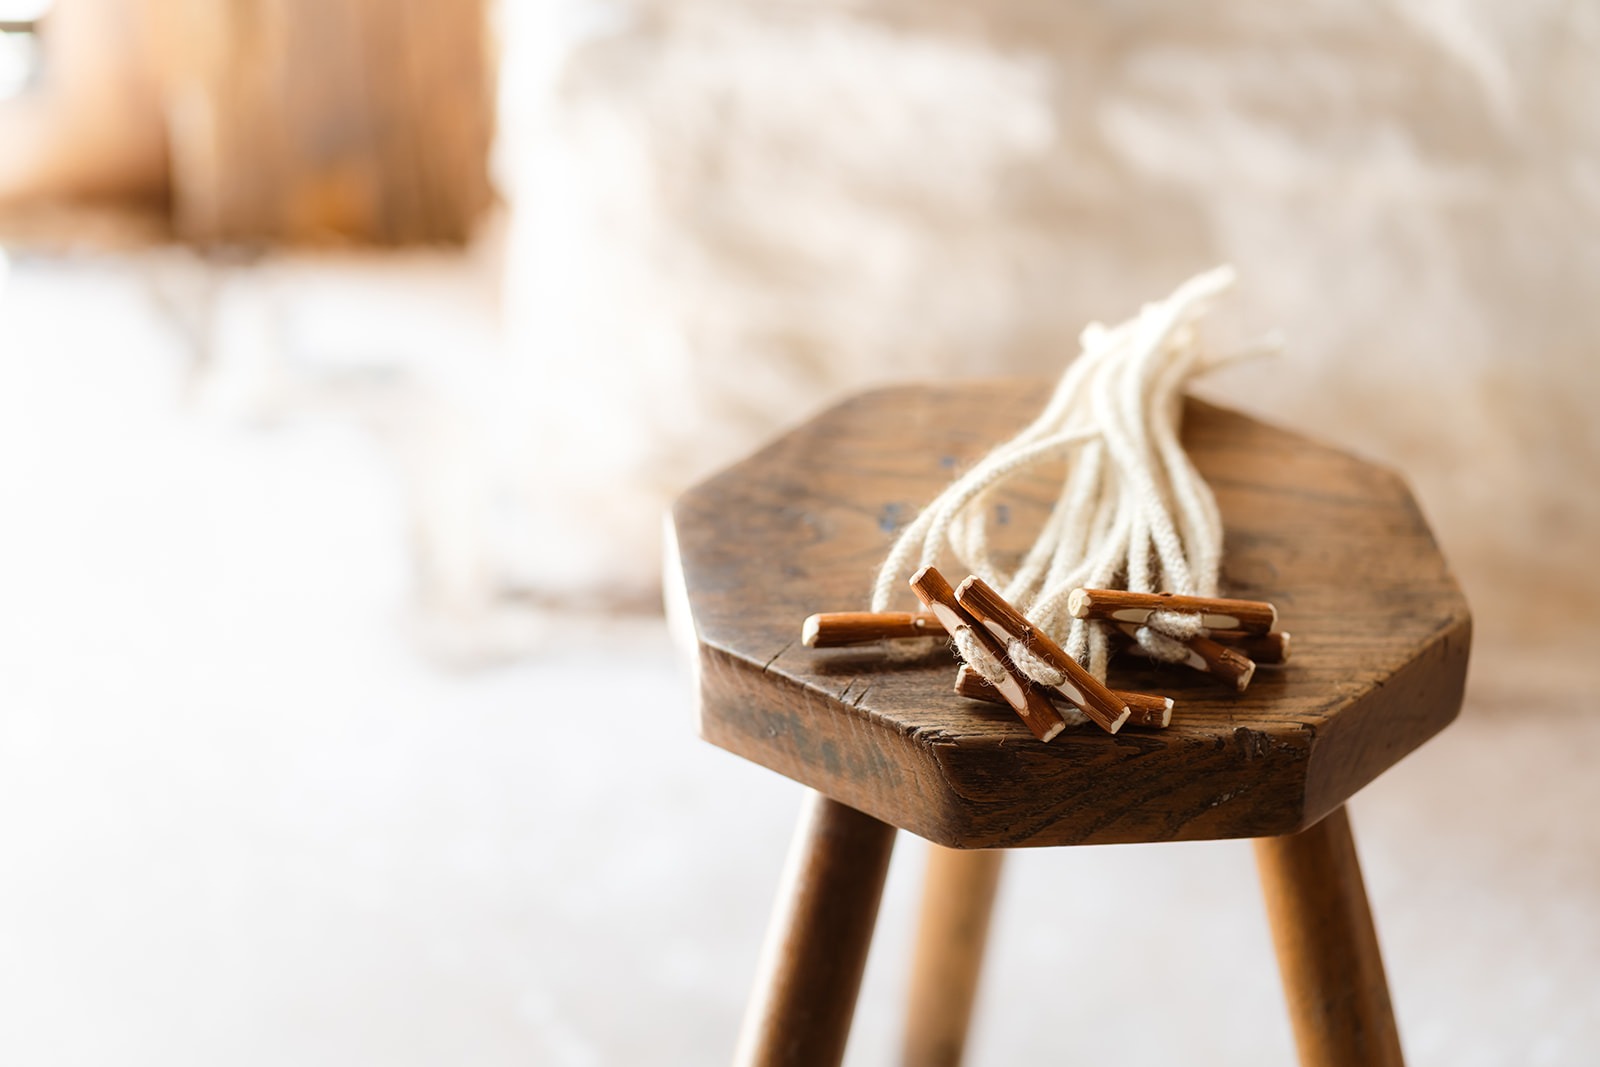
5. Handles
For the handles, I use Welsh woollen rope from a small British company, Sustainable Rope . The rope is woven around the coffin, making 3 handles on each side, then sewn together at the end. This continuous rope means the handles are extremely strong and have been tested to be weight bearing for carrying up to 25 stone!
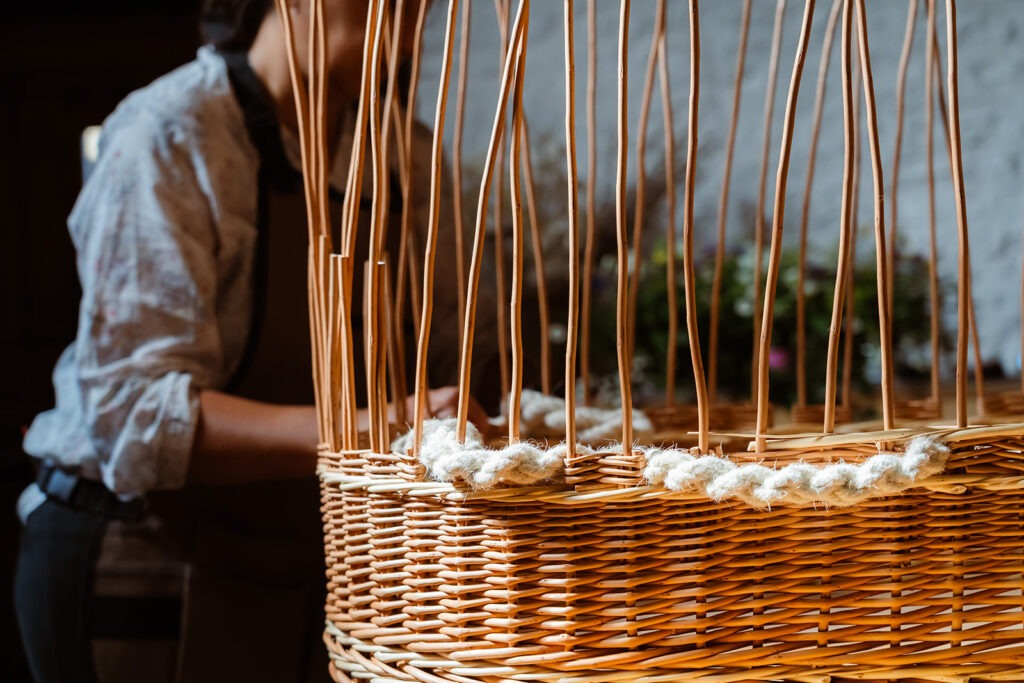
6. Border
Once the coffin is woven to the required height, the side stakes are re-soaked* and folded over to create the decorative and structurally functional border at the top of the basket.
* Buff willow dries out if I don’t weave all of it in a day. It would then snap if I tried to bend them to do the top border. But the beauty of using this stripped willow is that it can be re-soaked to make it workable again.
Brown willow cannot, so that is always woven as quickly as possible once started so the rods can be bordered without cracking. Although there are ways to make it workable again, including using a wallpaper steamer!
You may wonder, How can I re-soak such a big basket?
I have a custom made soaking tank which is ideal for soaking coffins and lots of willow bundles. It is 2′ deep, so I cut the uprights once I have finished side weaving and then turn it upside down to stand on those rods. These re-soak to be flexible again, ready to be bordered down.
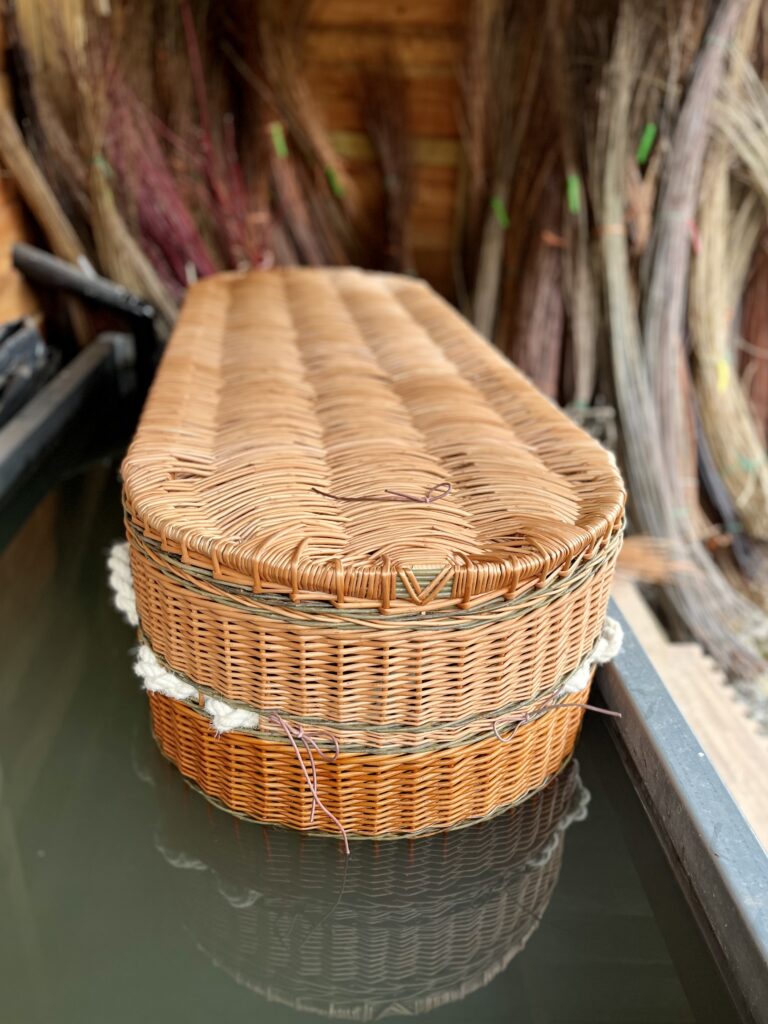
The Coffin Lid
I measure, cut and drill the solid pine centre pieces before inserting stakes to weave around. I use the same two weaves as in the basket and the same colours of willow to match. This is then finished off with a plait around the edge which creates a lip to sit over the basket. It always takes a bit of measuring to ensure this it is going to fit once it is made!
Handmade willow toggles and their woollen braid attachment loops are then added to secure the two together.


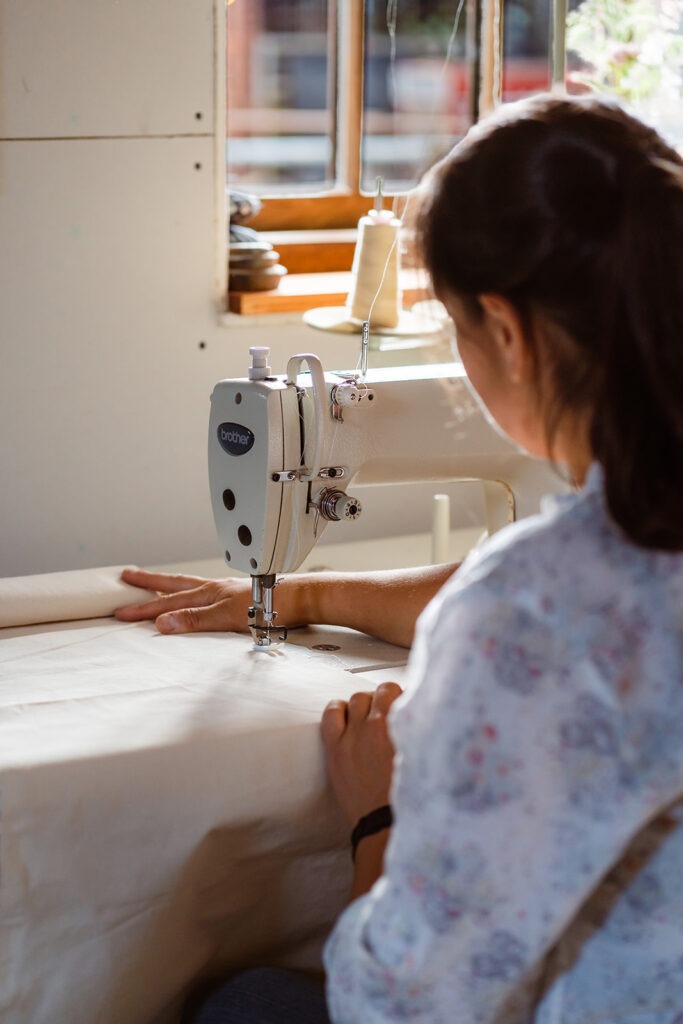
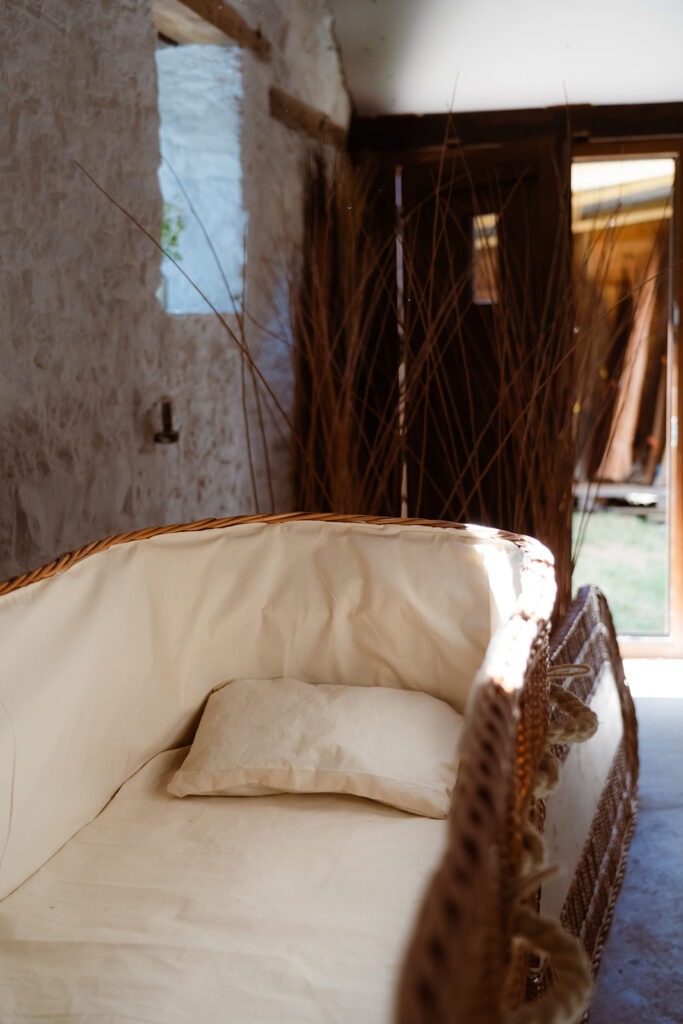
Linings, mattress and pillow
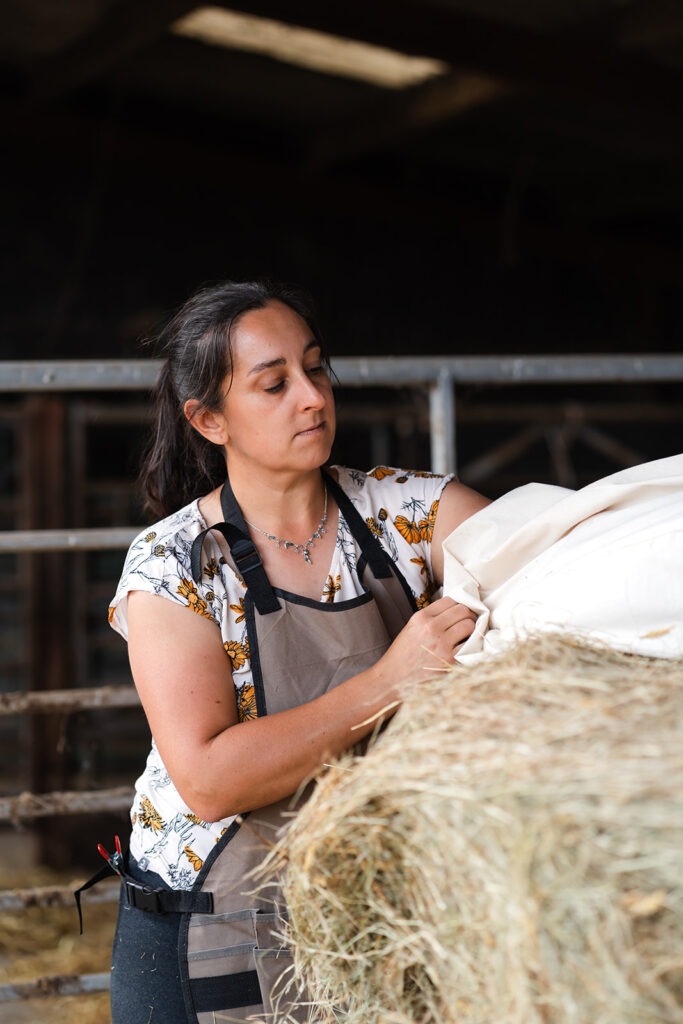
I cut and sew a calico lining which goes around the sides of the basket and in the lid. A biodegradable waterproof layer can be added below this, sometimes required by funeral directors and crematoriums.
I also make a mattress and pillow, filled with our own meadow hay, for each coffin. This is definitely an ‘extra’, but I believe as a final resting place, it should be treated as such. I have been given feedback by families that have viewed their loved one in their coffin, that this has been very comforting to them.
I add any extras that the family have asked for, such as a name plate or any keepsakes. These are items woven with the leftover willow and offcuts. I frequently make willow hearts, flowers, swallows and even dragonflies for families. I have even made a small basket for a family with the same willow as the coffin, which was very special.
Then with a final quality check and stamping the coffin with my ‘FFMA accredited’ details (if it is for cremation), the willow coffin is finished. It is ready to be collected from the workshop or delivered.
As you can see, there are many stages to making a coffin and it’s a lot more than just weaving. I have learned carpentry and sewing skills alongside willow weaving, and needed to buy the appropriate tools too!
So how long does it take to make a handmade willow coffin? It depends!
Join the Wegnalls Willow Mailing List
Sign up to the mailing list for updates on new blog posts, upcoming events, and other weaving-related news.
(I send emails occasionally, and only when there’s something meaningful to share.)